UiPath Studio Web for Outlook email processing

Summarize:
Introduction
In our day-to-day work, we often see scenarios in online applications that can be automated based on a trigger event, like an email received in Outlook, or a folder created in OneDrive. UiPath Studio Web is the product to implement such scenarios. It is a browser-based automation tool that requires no install on your local machine. Since it is accessible from anywhere, implementing automations can be done more efficiently. Let's take a closer look at the steps.
Automation scenario
Let’s take this scenario. The accounts payable department of our company is responsible for handling large volumes of invoices for paying suppliers and vendors. One of the most time-consuming steps in this process is filtering the emails from the Outlook mail folder and downloading the invoices. In this article, we’ll see how to create an event-based automation using Studio Web. It involves reading emails from the Outlook folder based on some filters and conditions, downloading the attachments, and uploading them to a Google Drive. Pre-requisites
For this tutorial, you need to:
Have access to Studio Web in UiPath Automation Cloud™ or alternatively, a user can get started by accessing https://studio.uipath.com/ and creating an account there.
Connect UiPath Assistant to UiPath Orchestrator
Have access to Microsoft Outlook account in a browser
Automation steps
Step 1: Login to Automation Cloud™
Login to Automation Cloud™ with valid credentials.
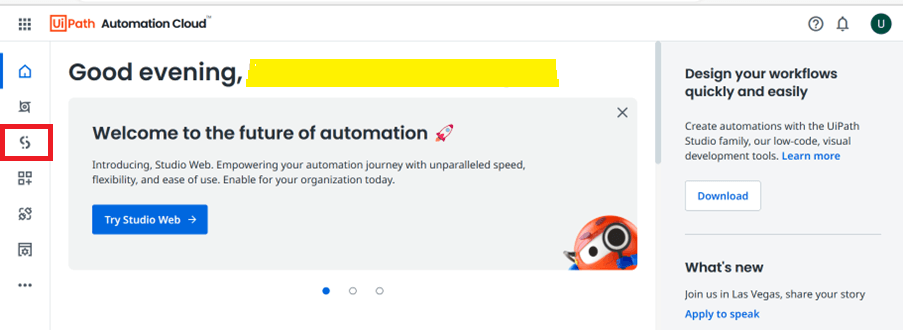
Step 2: Access Studio Web
Click on the Studio Web icon in Automation Cloud™.
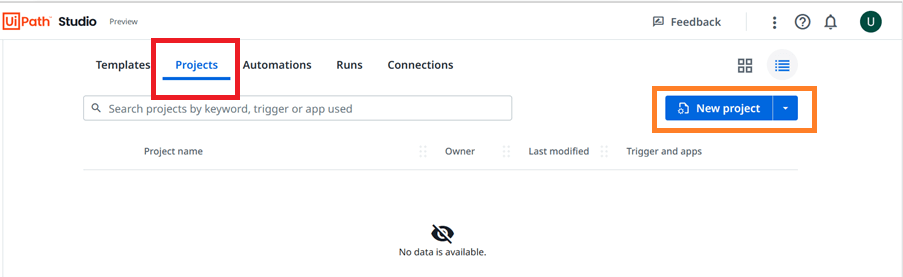
Step 3: Create new project
Go to Projects and click on New Project.
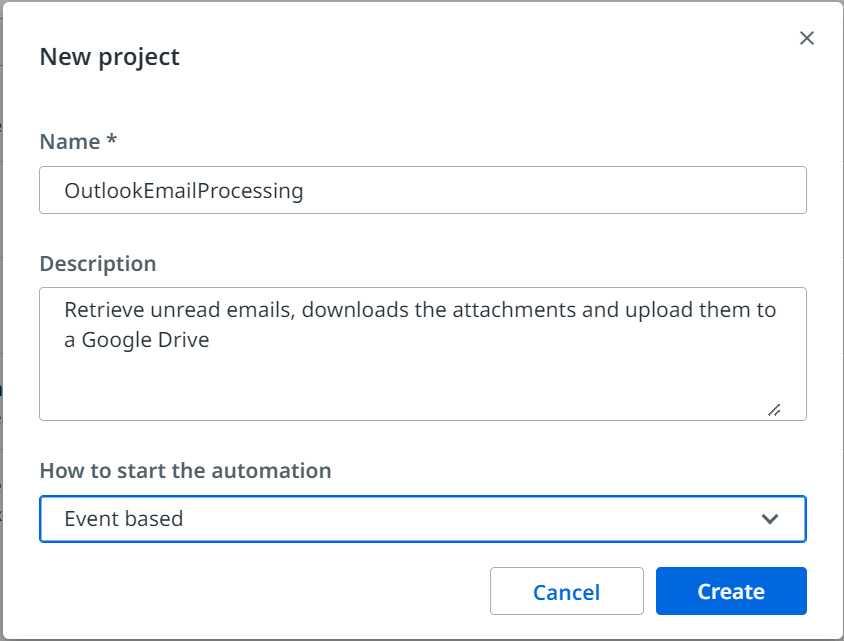
Step 4: Project details
Give your project a relevant name, and a description that might help other colleagues identify what it does easier. Since we want to create an automation that starts when a certain event happens, lets select "Event Based". Click on Create.
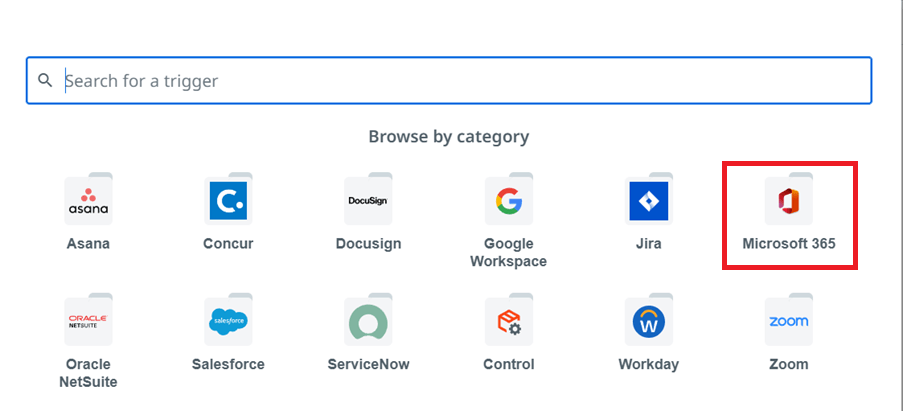
Step 5: Select trigger category
Once you create a project, Studio Web suggests a list of possible triggers, based on the software you want to start automating. Our scenario involves Outlook, so we will select Microsoft 365 from the triggers.
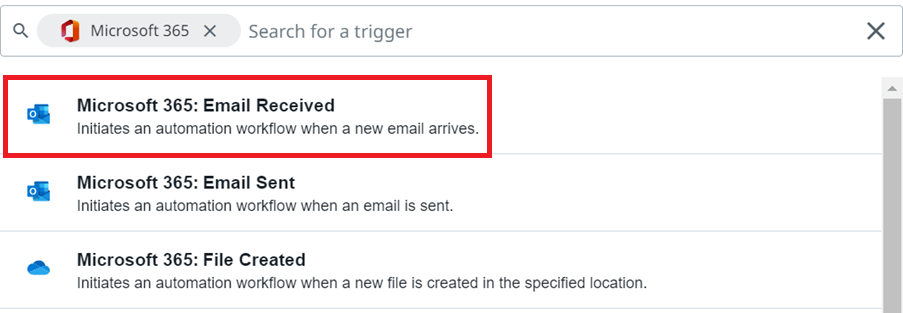
Step 6: Select Trigger Activity After selecting the trigger category, you need to choose the specific trigger activity. Since we want this automation to start when receiving an email, let's select Microsoft 365: email received from the list.
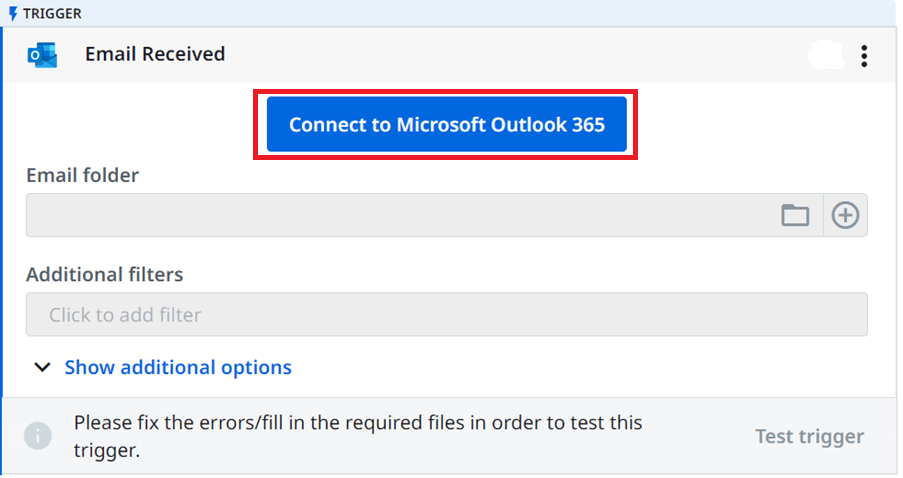
Step 7: Configure Microsoft Outlook 365 Account Once the workflow is loaded, and you are in the main canvas, the first thing to do is configure Microsoft Outlook 365 account in your browser by clicking on Connect to Microsoft Outlook 365 button.
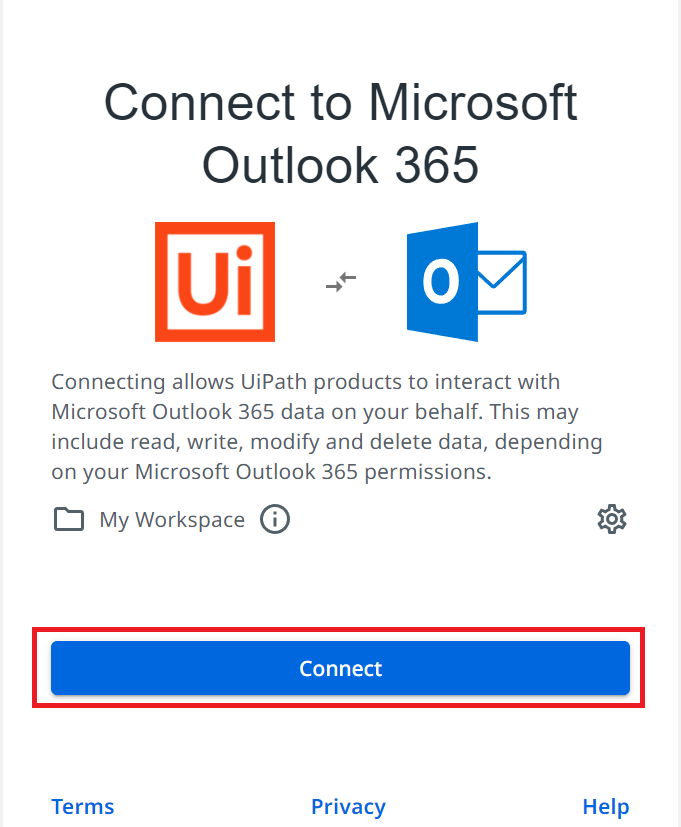
To connect, you are taken to an authentication page. Click on connect.
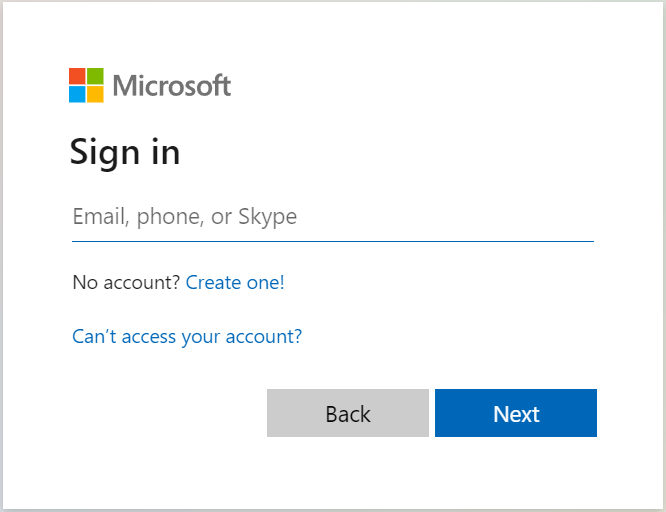
Login to your Microsoft account with valid credentials. If the authentication fails for the first time, try to re-login. Create a new folder under Inbox in your Outlook and name it “Finance”. This folder will be checked for new emails. Let us also create another folder called “Processed”. Once the emails are processed in “Finance” folder they are moved to the “Processed” folder.
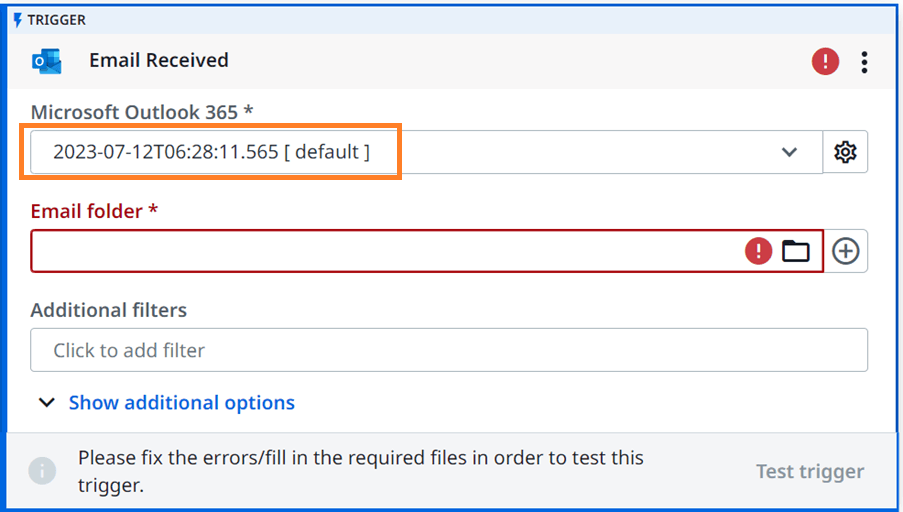
Once the connection is successful, Studio Web activities get populated with your exact Outlook account options.
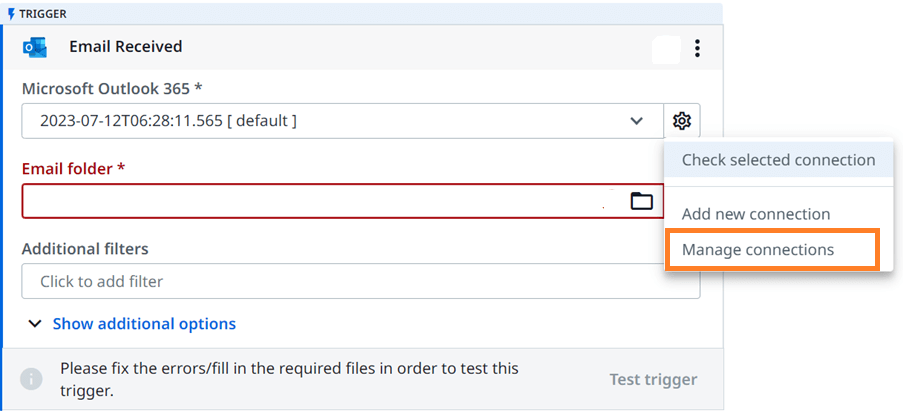
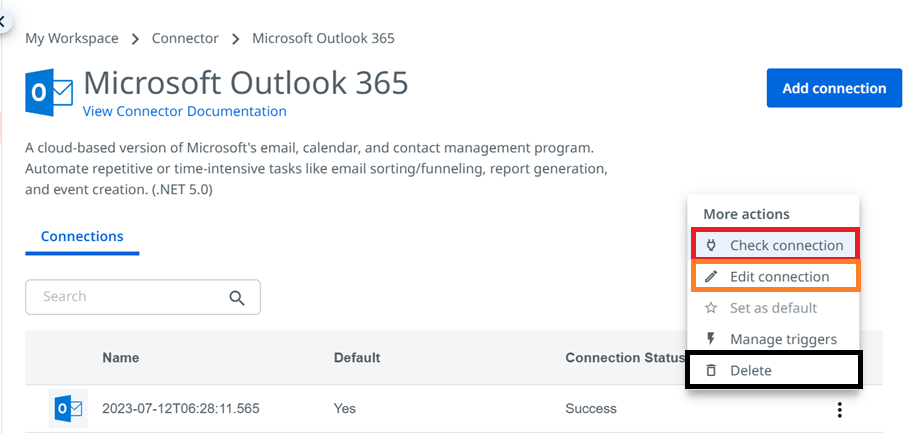
Manage Connections You can always manage your application connections using Manage Connections option. If you select this, it will take you to a connections page where you can check your connection status, edit your connection, and delete.
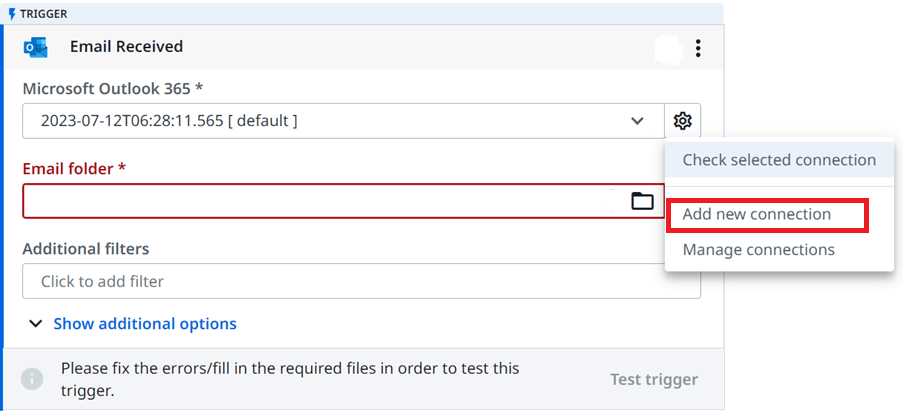
Add New Connection Add new connection option, helps establish a new connection to a different Outlook account. This helps you manage multiple accounts and switch between them while configuring the Studio Web workflow. Another way to add a connection is to use Add Connection button in the connections page.
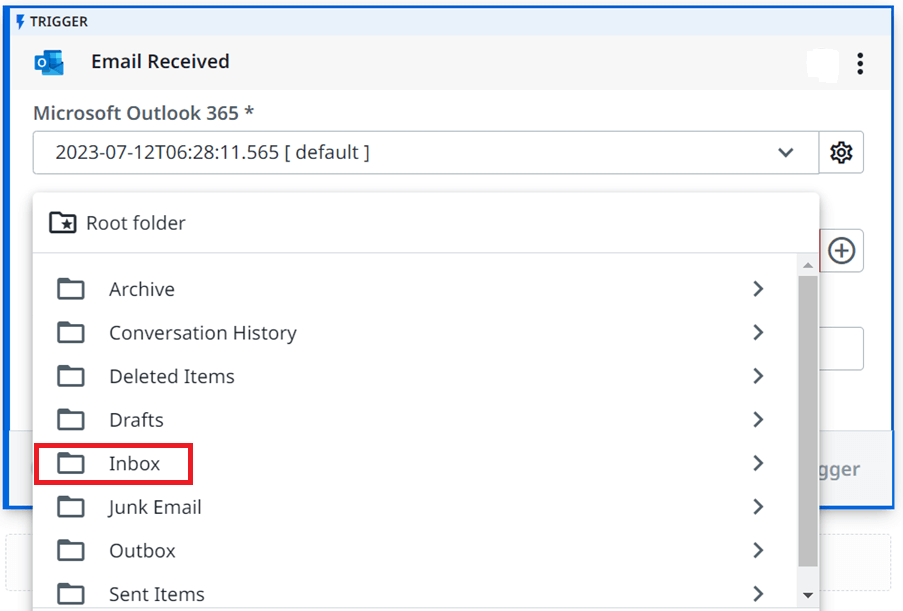
Configure email folder Click on the folder icon in the email folder field and select the root folder as Inbox.
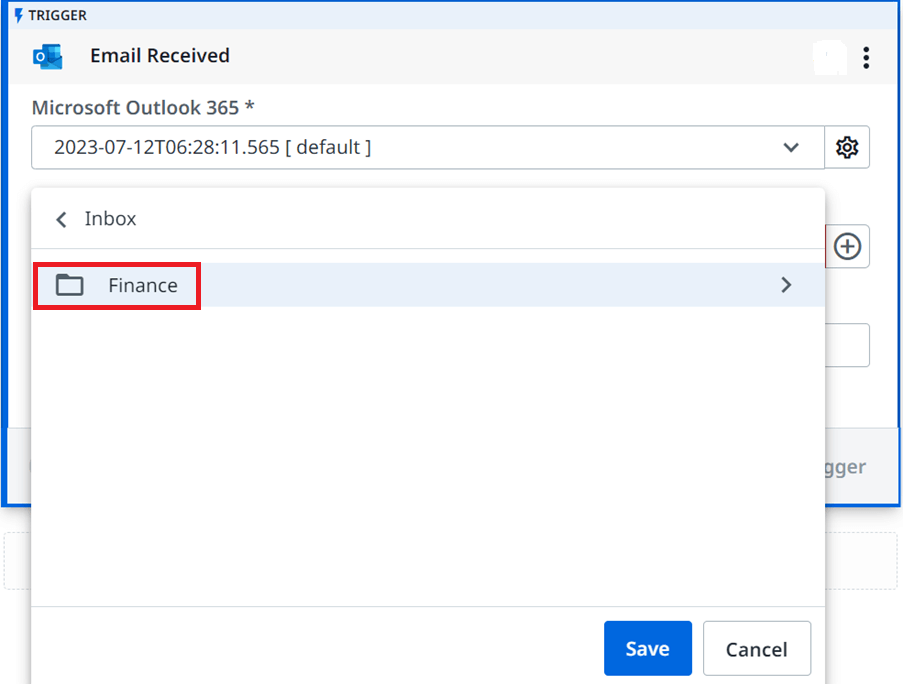
Double click on the Inbox folder to select the sub folder “Finance” and click Save.
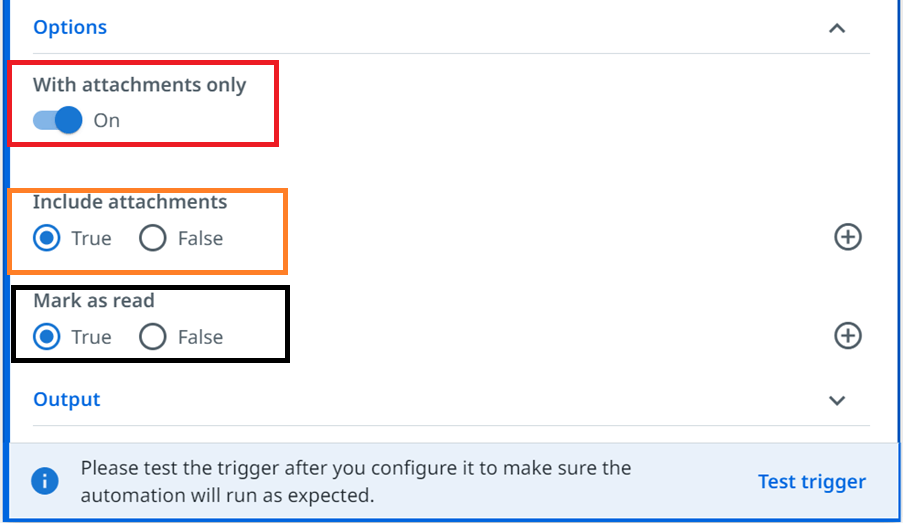
Configure additional options What we want is to look for emails with attachments, include said attachments, and then mark them as done once the robot has completed the processing. To do the configuration, click on Show additional options, enable With attachments, Include attachments is set to True, mark as read is set to True.
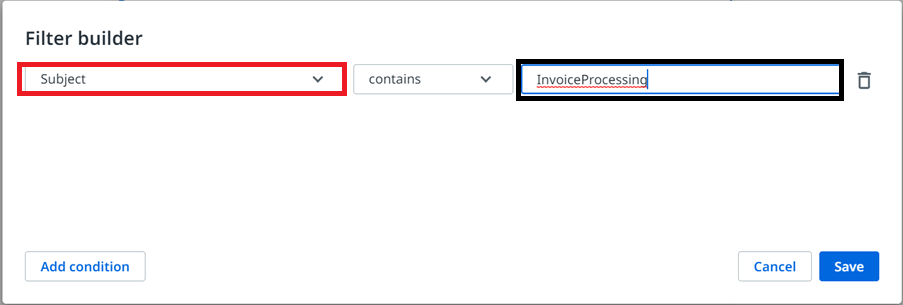
We also want to select based on the email subject, so let’s click on the additional filters, configure email subject, and save. If you have another scenario in mind, Studio Web allows you to filter also based on From email address, To email address, email Category, etc.
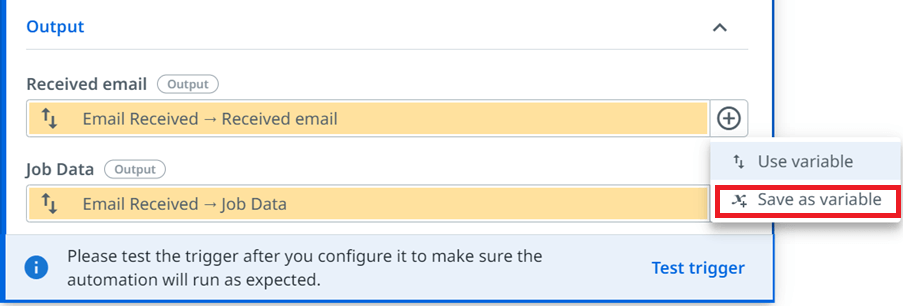
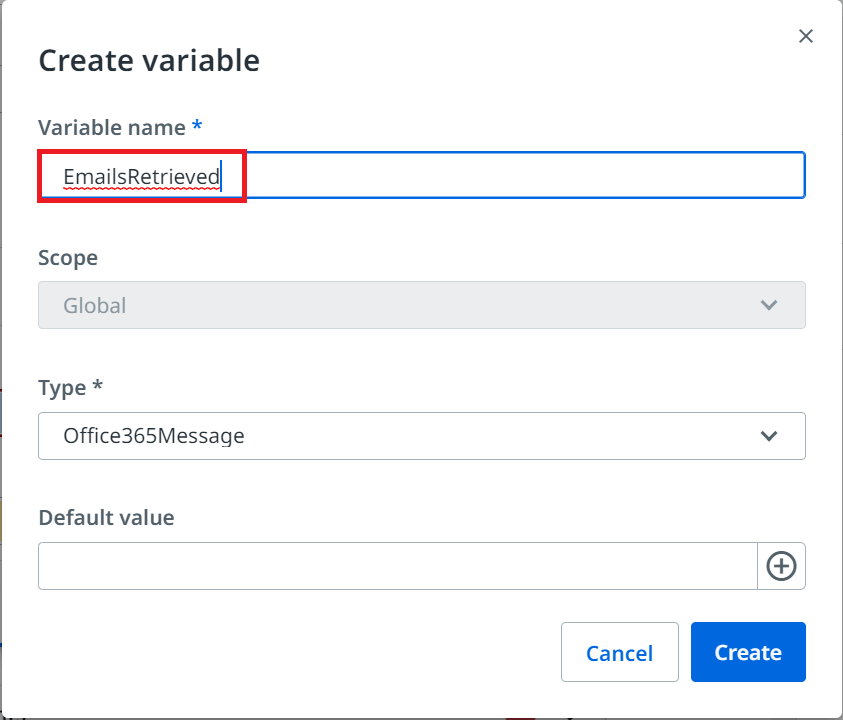
Configure output This step can be optional—the user can also use the auto-generated activity output Let’s create a variable to store the list of retrieved emails, and the variable will be used in further steps. Click on the plus button in the Received email field, and select Save as variable. Give a variable name and click on Create. Another way to create a variable is using data manager panel.
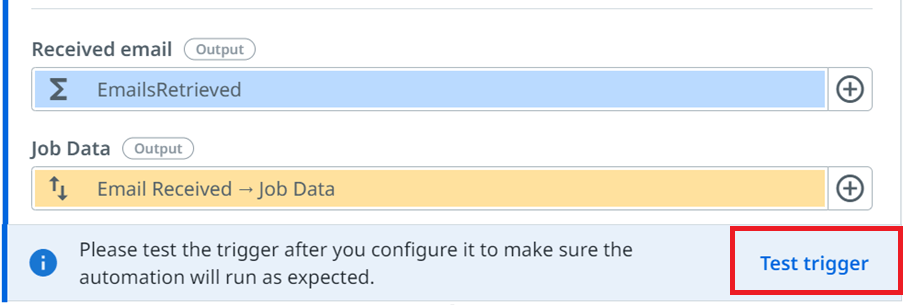
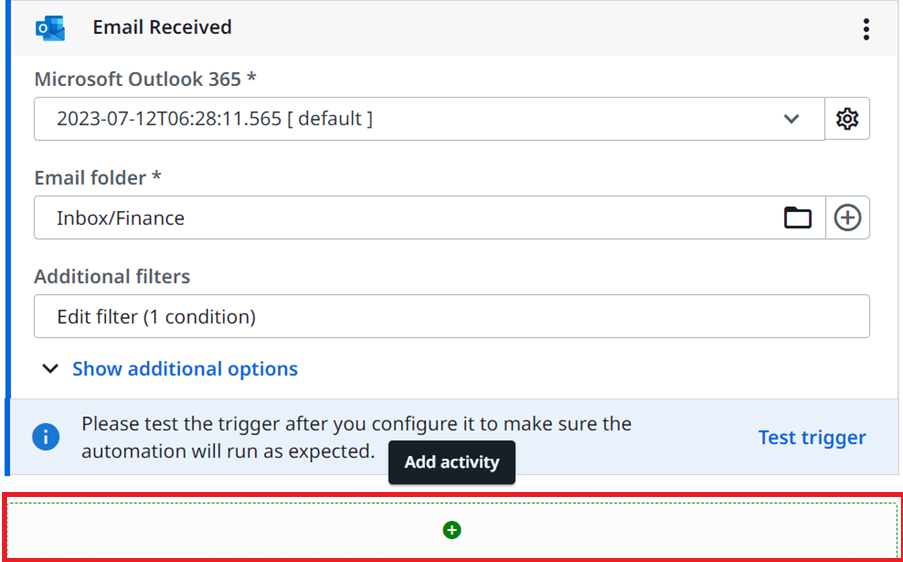
Test trigger Test your trigger using Test trigger option to make sure it is working as expected. Before testing, make sure the Outlook mail folder has a new email with the above-configured conditions.
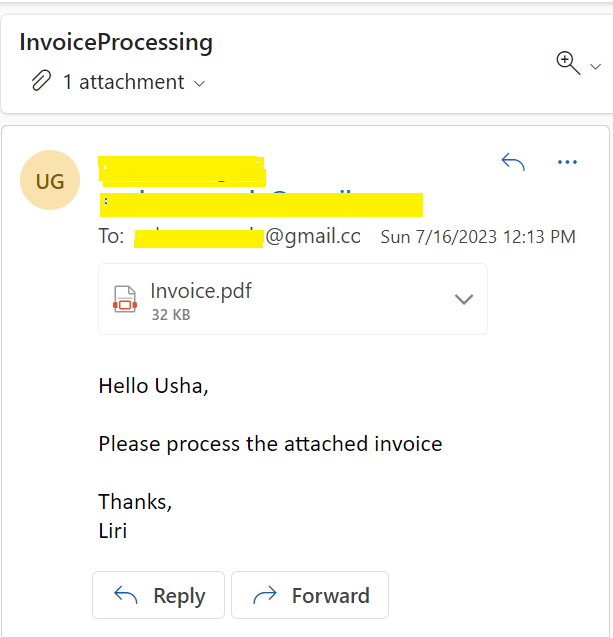
If there are any emails that match with the configured conditions, then the workflow displays below message.

Step 8: Download attachments Click on the plus button to add a new activity. A wizard opens to allow you to search for an activity.
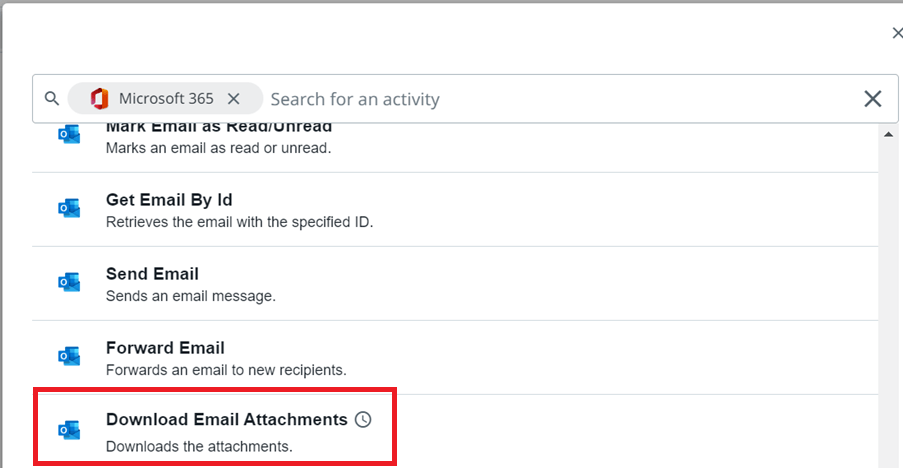
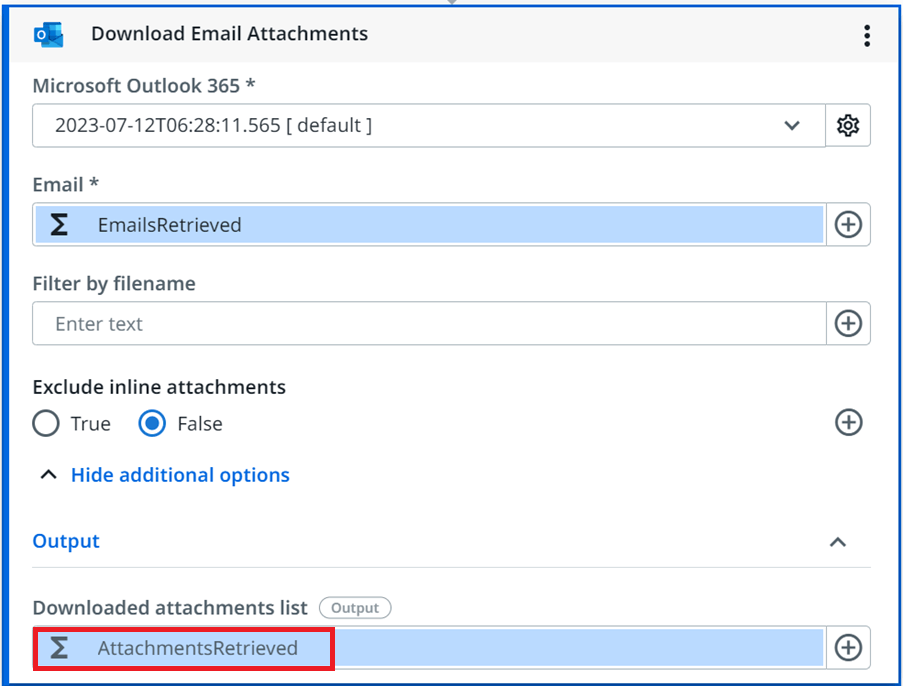
Selecting Microsoft 365 from the category, gives all the related activities. Select download email attachments activity from the list. If you know the activity name, you can search for it directly in the search panel without selecting any category.
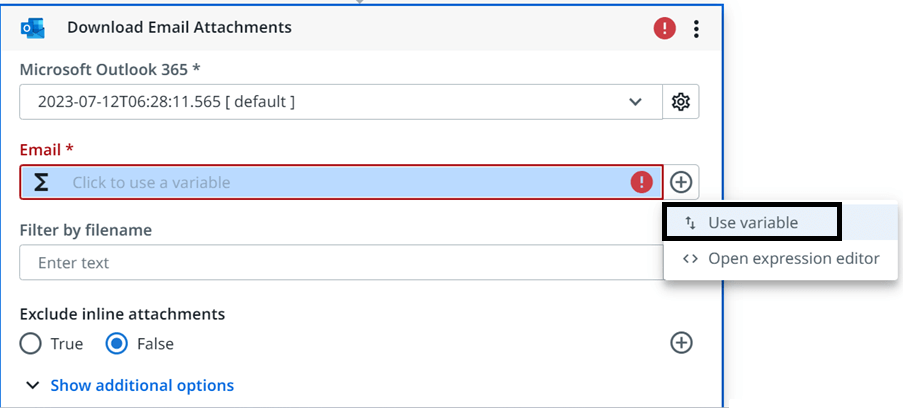
We now need to use the previously saved variable to configure the list of emails. Click on the plus symbol in the email field and choose Use variable. Select the variable name EmailsRetrieved under variables.
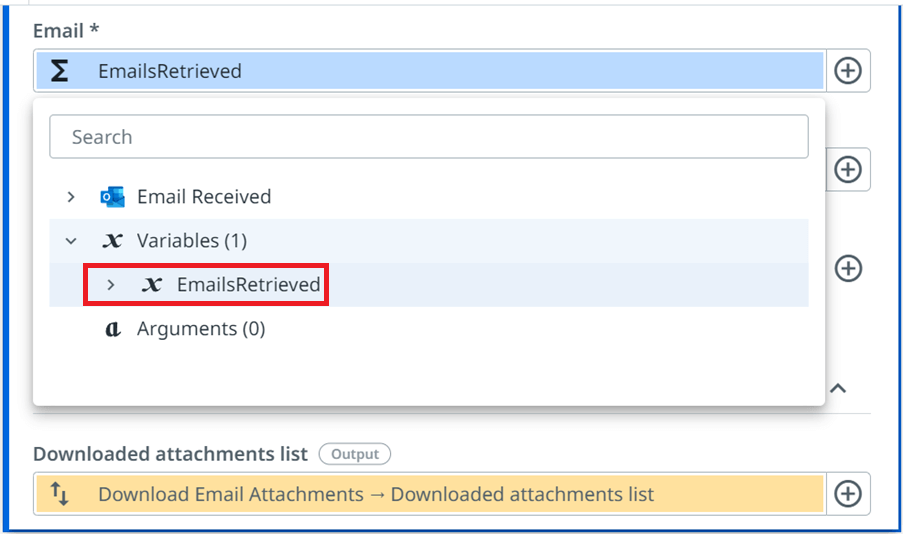
Configure Output We have to store the list of downloaded attachments. So, create a variable for the Downloaded attachments list field. Refer to step 7 for the process of creating a new variable.
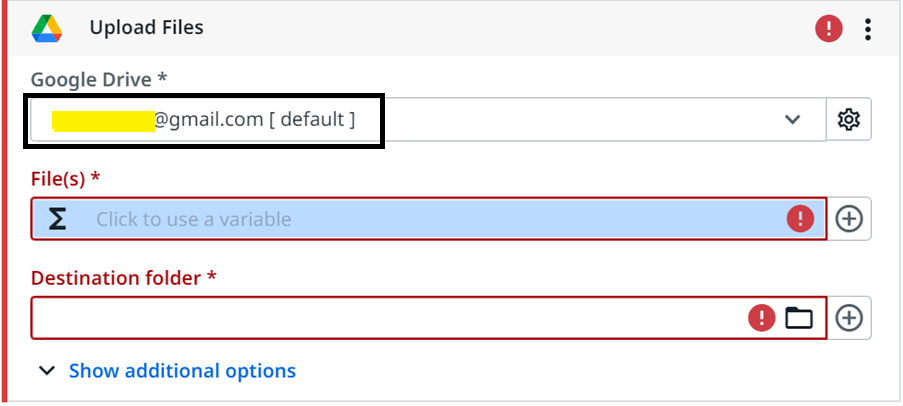
Step 9: Upload attachments to Google Drive
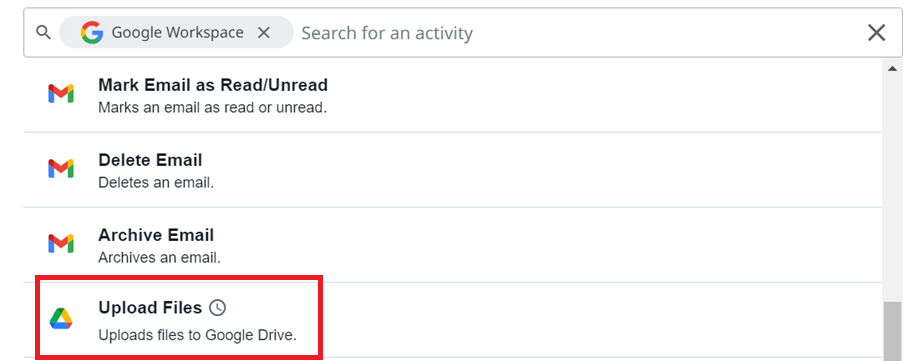
It’s time to save the email attachments in a folder. Since Studio Web is an online tool, you can't download the files locally. You can upload the files to Google Drive or OneDrive and access them from there. For now, let’s work with Google Drive. Select the category as Google Workspace and choose Upload Files activity. Refer to Step 8 on how to add a new activity. Create a folder in Google Drive and name it “Invoice Processing”. These details can be used further.
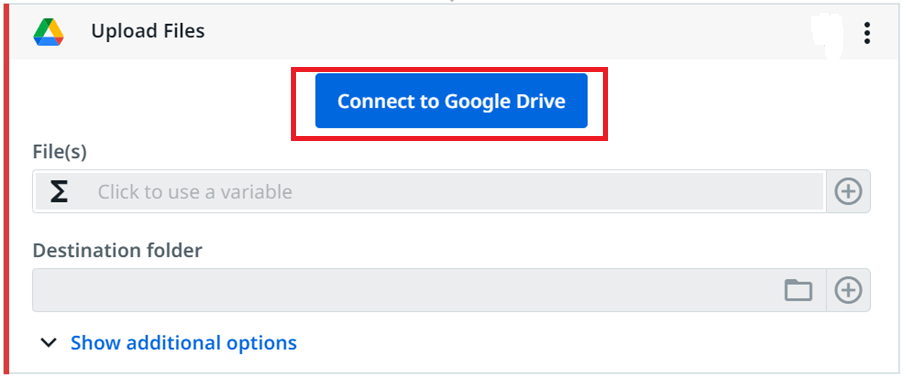
To save the files to Google Drive, we first need to connect to Google Drive. Remember what we did in step 7 for Microsoft 365? It is mandatory to connect to the application if you are using it for the first time.
It takes you to an authentication page, click on continue to access Google Drive.
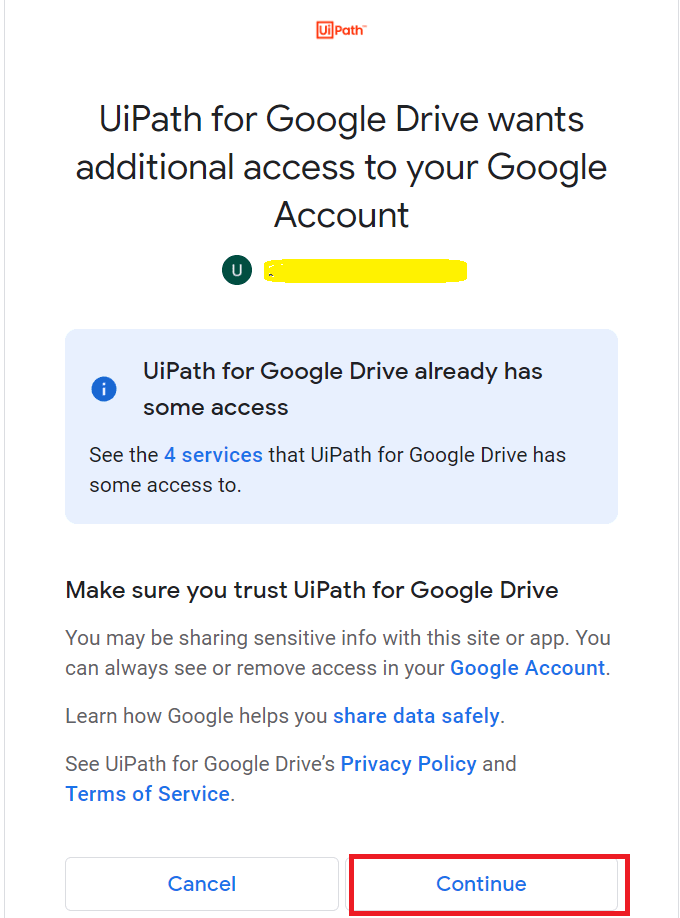
Once the integration is successful, the Studio Web workflow gets configured with the Google Drive account. If you don’t see that configuration, refresh the Studio Web page or re-try connecting to Google Drive.
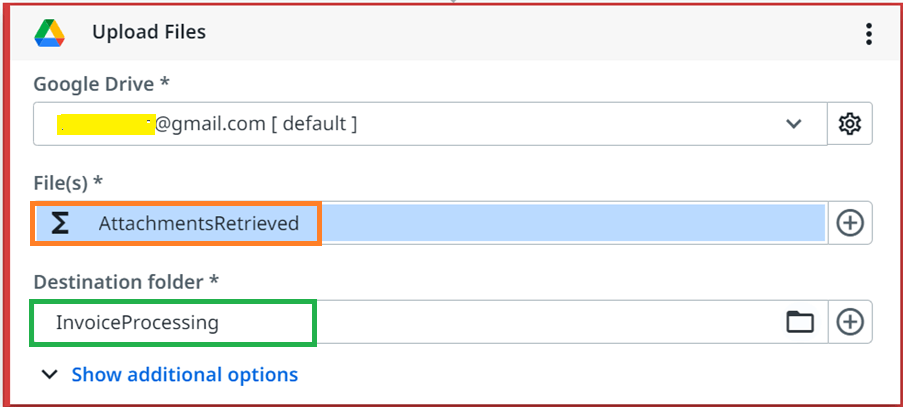
Let’s configure the list of attachments we want to upload and also the Google Drive folder to save the attachments. For that, use the previously created variable at Step 8 named “Attachments Retrieved” as an input to the Files(s) field. Refer to Step 8 on how to call the existing variable. Select the newly created folder “Invoice Processing” in the Destination folder field.
Step 10: Move the processed emails
It is always good practice to move the processed emails to a temporary folder, this way you know.
Successfully processed emails by the robot.
The emails received for the current execution.
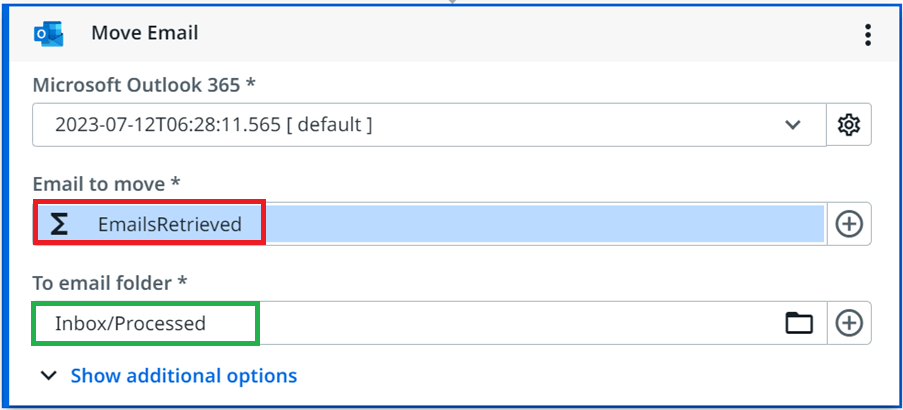
Search for an activity Move email and select. This activity requires as an input the list of emails we want to move, and the destination email folder. So, let’s use the variable created at Step 7 as an input to the Emails to-move field and browse the folder named “Inbox/Processed” for To email folder field.
Step 11: Run workflow
To execute our process, we have two options: Run: it runs the workflow till the end without any pause. Run step-by-step: It pauses at the very first activity and allows the user to perform Continue, Stop, and Next Step actions.

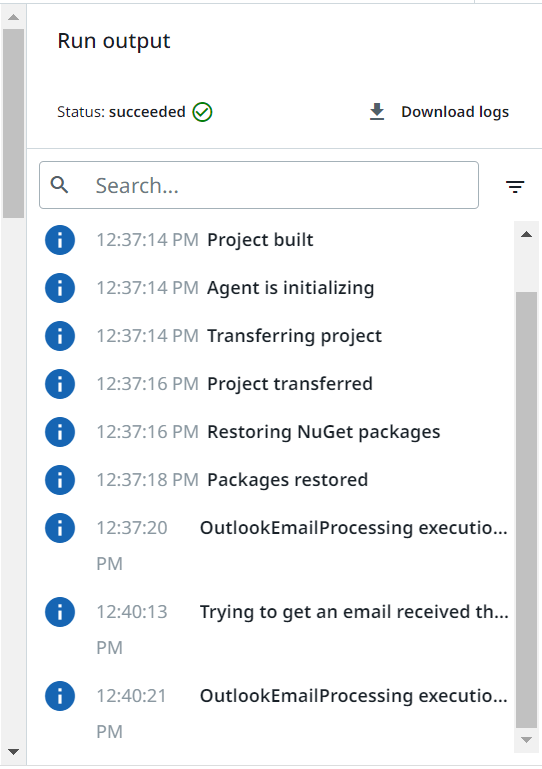
Once the manual run was successful, the output panel displays the logs and status of the run.
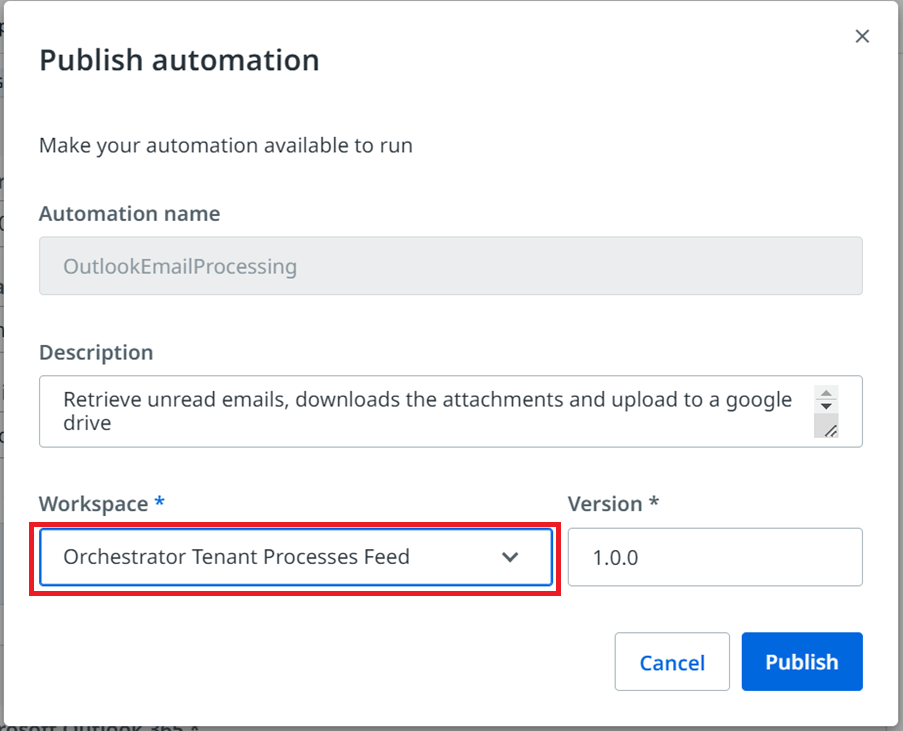
Step 12: Publish workflow
Let’s publish the automation project to Orchestrator so that it can be sent to robots to for execution.

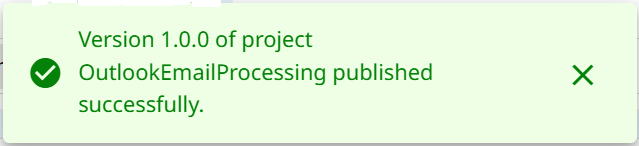
Selecting Orchestrator Tenant Processes Feed from the Workspace dropdown enables to publish the automation to Orchestrator tenant.
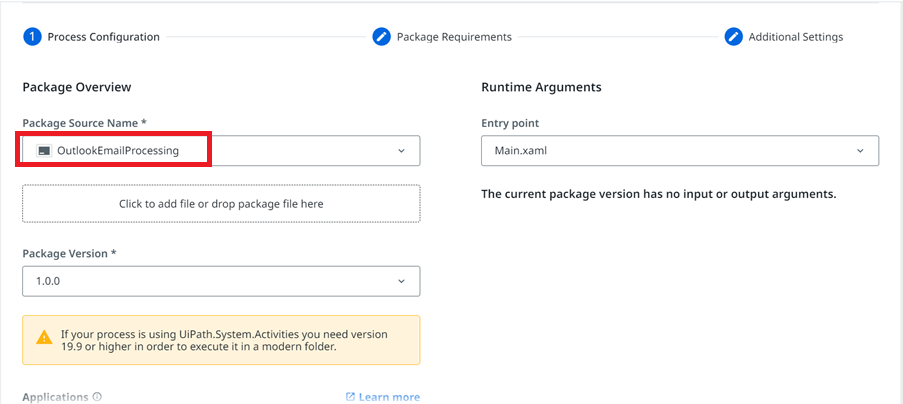
Step 13: Creating processes in Orchestrator
Create a process in Orchestrator to link the deployed package to an Orchestrator folder. So that we can assign the process to a robot for an execution. To do that, navigate to Processes under automations tab. Click on Add Process, select the published package from the drop down, click on Next.

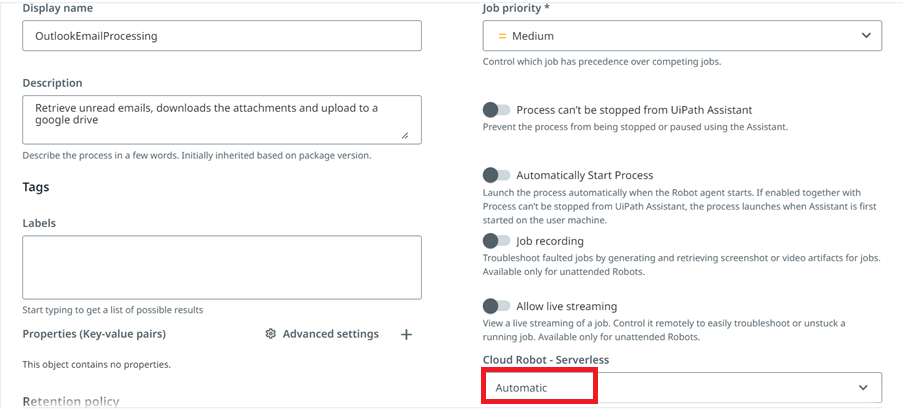
In Additional Settings tab, cloud Robot-Serverless field is set as Automatic by default. You can change the options from the drop down according to your requirements and licensing options. Click on Create. The created process runs as a background automation without interrupting any of the foreground automations.
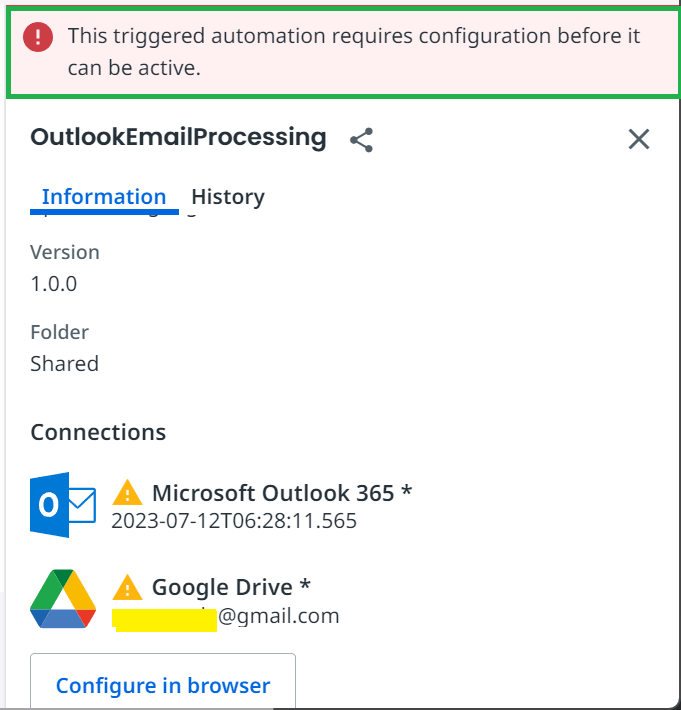
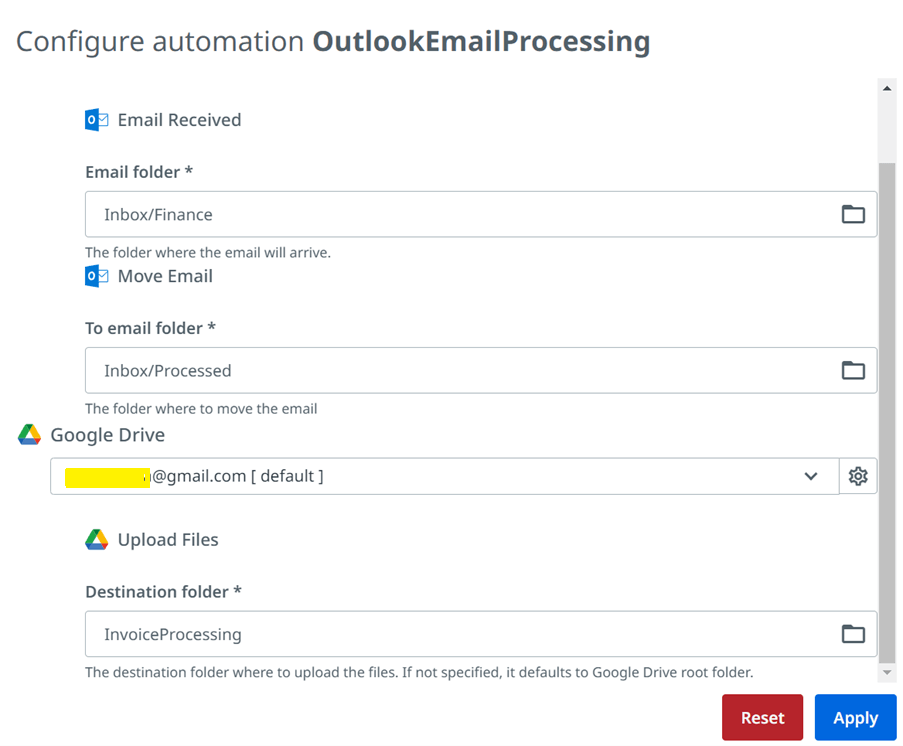
Step 14: UiPath Assistant configuration Once the process created in Orchestrator, open Assistant. We have to configure the connections in browser before the automation is active.
Step 15: Run the Studio Web automation
Since this is an event-based automation, the workflow automatically triggers when a new email arrives in the Outlook folder. To test this, make sure the configured monitored folder “Inbox/Finance” has a new email that matches the configured conditions.
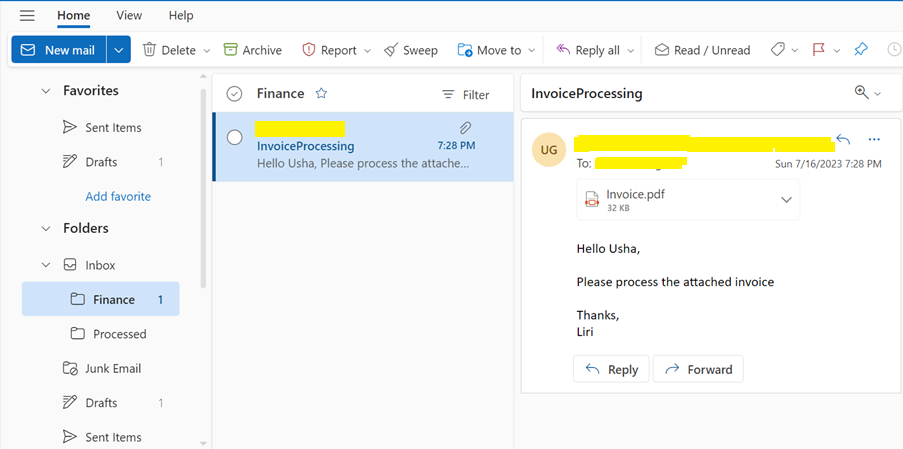
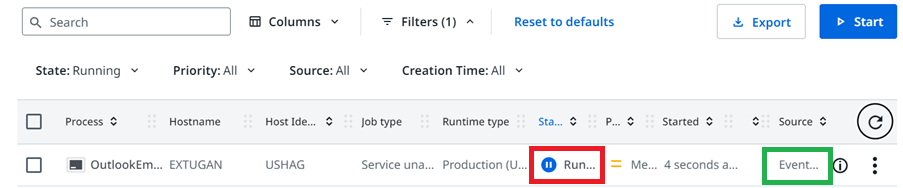
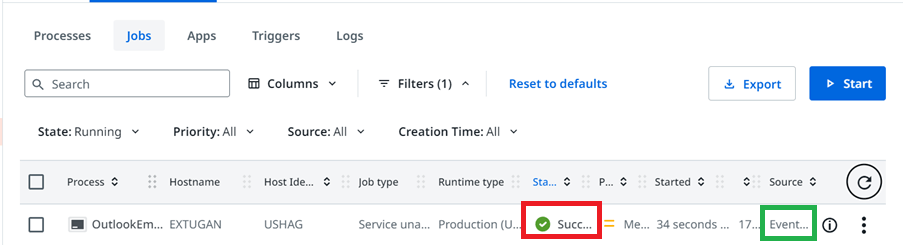
Output The status of the event-triggered automation can be checked in the Jobs tab in Orchestrator. At the end of the execution, you see the processed email in Inbox/Finance folder moves to an Inbox/ Processed folder in Outlook, and the attachments upload to Google Drive. Note: Sometimes, the process will take around 2–3 min to trigger after an event occurs.
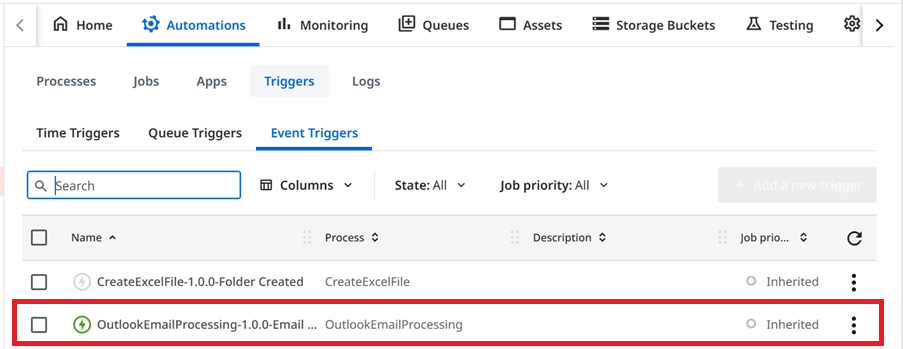
Step 16: Event trigger status
You can also check whether the event trigger is enabled/disabled in the Event Triggers tab in Orchestrator.
Conclusion
This article is showcasing a finance scenario. There are multiple other tasks involving most popular online applications and services where Studio Web can be used, such as Workday, Salesforce, OpenAI, Amazon Workspaces, etc.
Topics:
Studio Web
RPA developer, Miracle Software Systems, Inc
Related articles


Get articles from automation experts in your inbox
Sign up today and we'll email you the newest articles every week.
Thank you for subscribing!
Thank you for subscribing! Each week, we'll send the best automation blog posts straight to your inbox.
Get articles from automation experts in your inbox
Sign up today and we'll email you the newest articles every week.
Thank you for subscribing!
Thank you for subscribing! Each week, we'll send the best automation blog posts straight to your inbox.